Submit
Tips & Resources
Tips and additional resources for SF3 filmmakers
Which phone or tablet to use? You ask…well that’s simple. We recommend the phone and/or tablet that you already own.
These days you don’t need expensive cameras and huge budgets to make a great film. You don’t even need big crews, special effects or lots of money (or any money). All you need is your smartphone and/or tablet, a great idea and away you go. Here’s a cheat sheet for all the rules to make your vids pop and thanks for coming to class with us.
Tip #1 – Clean your lens
Tip #2 – Shot Orientation
Make sure that you are shooting in the correct orientation. A lot of people will shoot automatically in portrait mode but remember that because we usually watch films in widescreen or horizontal format on TVs, computers, tablets and phones we want to shoot in landscape mode. So hold your device on its side.
Unless of course, you are shooting for Instagram or Tik Tok, in which case vertical is the norm.
If you forget to shoot in landscape, never fear, your film will just have black marks either end.
Perhaps you want to shoot your film in vertical as an artistic choice. This is gaining a lot of momentum in the film world so go for it and make it amazing, but remember it should be a choice to shoot in portrait and not a mistake.
Tip #3 – Stability
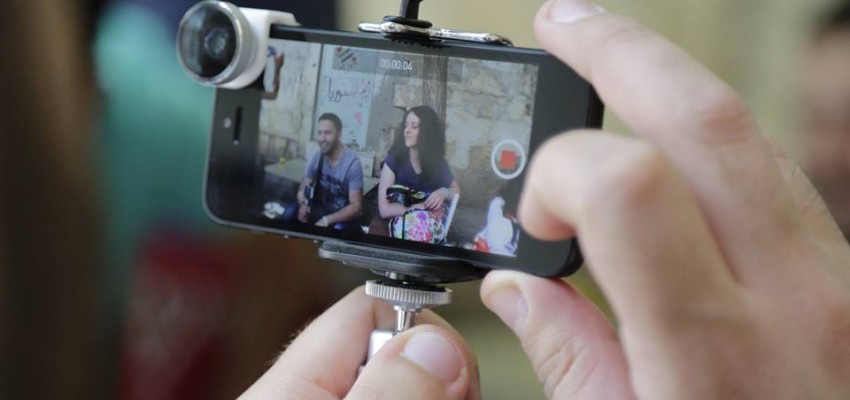
This is crucial to your film. Use your body as your tripod. Hold your phone with two hands with your elbows BENT and tucked in to your sides. This will steady your shots. If you can lean on structures, trees or walls to stabilise as much as possible.
If you want to pan, swivel from your hips, keeping your body locked and using your lower torso as the panning motion.
Also try adding as much tension to your grip on your phone as possible. This will eliminate shaky hand syndrome. Use the Pinch and Pull Grip as coined by Jason van Genderen.
Tripods are also useful if you have the budget. You will need to make sure you get a smartphone or tablet mount that will easily clip your device onto the tripod. Some products and/or companies to look our for are; Jobi Gorilla Pod, Action Life Media & Pico, Boom Bandit (for amazing sweeping shots) and Grip Gear. JB Hi-Fi also has a great range from low to top end, second hand shops often have them in and of course you can find low cost ones online.
Cages are also very popular as are gimbals. There is a huge variety in cost once you start buying these accessories so think about the kind of films and content you want to create and make sure your accessories match the look you want in your work. All the current ones on the market are great, some names to look out for include DJI & Zhiyun Tech for gimbals and Beast Grip, DreamGrip, SnapGrip and more for cages.
Tip #4 – Sound
Good sound is absolutely key to creating a professional film. In fact, it is the big difference between an amateur film and a professional one.
We recommend you shoot in as quiet and non-echoey a location as possible. Always stand and listen for the sounds in your location before you start rolling to eliminate any external sounds before you
roll, such as air conditioning, banging jewellery on actors, traffic, etc.
You can also use voiceover/overlay if you want to make a film and not worry about sound. Many beautiful films use voiceover narration for all or parts of their films.
Remember you can use a second phone to record the sound as we demonstrated. The second phone becomes the boom mic, lapel mic or desk mic, etc.
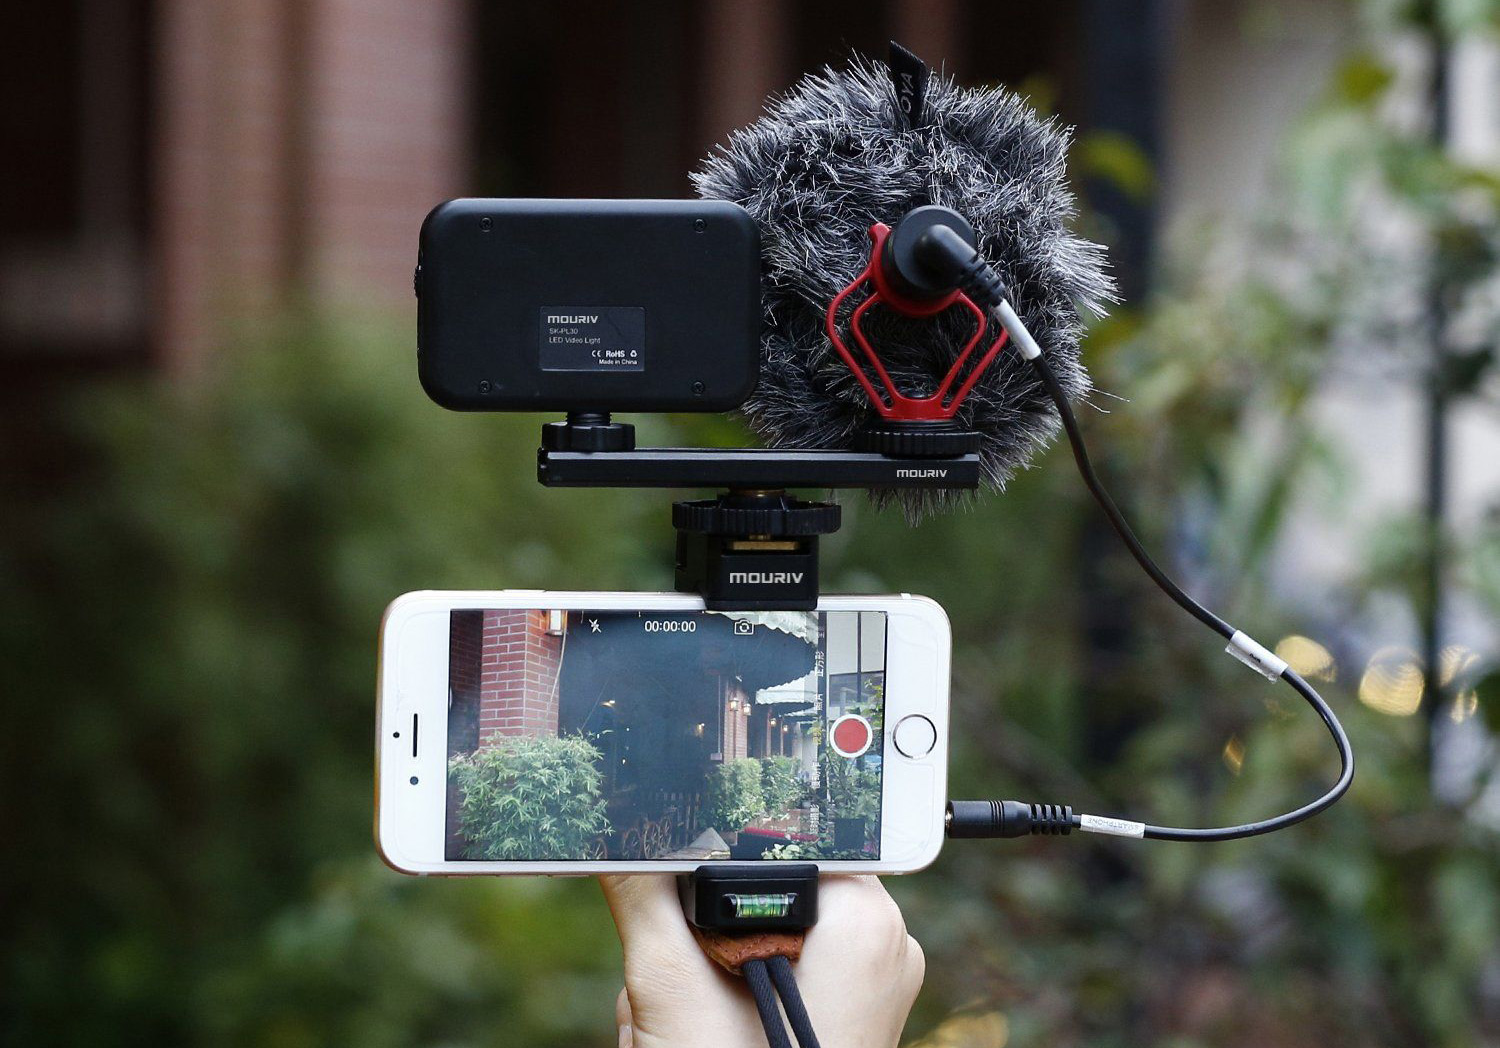
And of course, you can invest in an external microphone. We say buy Rode, they are the best and not expensive for the incredible professional quality of their products. We exclusively use Rode microphones at SF3 but also highly recommend Sennheiser and DJI. With a mic, you do get what you pay for.
However, if you do want to or can only shoot using the phone’s inbuilt mic, then we recommend you get the actor/interviewee to stand as close to the mic as possible, making sure there are as little other sounds in the background as possible. This will be a pretty good option on newer phones which have better mics.
Always make sure after your first shot or test in a location that you plug in some headphones and listen back to the sound to make sure it all sounds good before continuing on.

Tip #5 – Lighting
The phone camera does not see the subtle light gradations like the human eye does so it’s better not to shoot in areas of high contrast.
When shooting indoors, make sure you have the area adequately lit, otherwise the image may come out a little grainy, although this is becoming not the case for the newer models of phones. Phone sensors are small and require adequate light but newer models of phones are being designed for low light conditions, so get to know your video settings and as long as you have one main light source, your phone’s sensor will be happy.
You can use reflectors and scrims to remove harsh light or deep shadows. These can be bought online or in camera stores, or you can DIY. eg, with a white sheet of paper, a car windscreen protector etc.
You can also buy pocket spotlights which are awesome and plug in to your phone so you don’t need to even hold them. Try Bunnings, Kmart or there are heaps online. You don’t need to spend a lot of money on lights.
Cameras also adjust automatically to compensate for the colour or temperature of a light source. Make sure you lock the auto focus and exposure of the shot so that it locks onto this and you will have a consistent light and focus for the shot. Hold the screen to make the yellow box appear for this and remember what we told you about scrolling down two swipes to add some shadows and highlights.
There are also apps such as Filmic Pro or the free Blackmagic Camera App (only for iOs at this stage) which you can use to shoot in and set the lighting state as you are shooting. Filmic Pro and Black Magic are the industry leaders and every professional smartphone filmmaker are shooting on these apps. They turn your phone into a DSLR.
Tip #6 – Zoom & Lenses
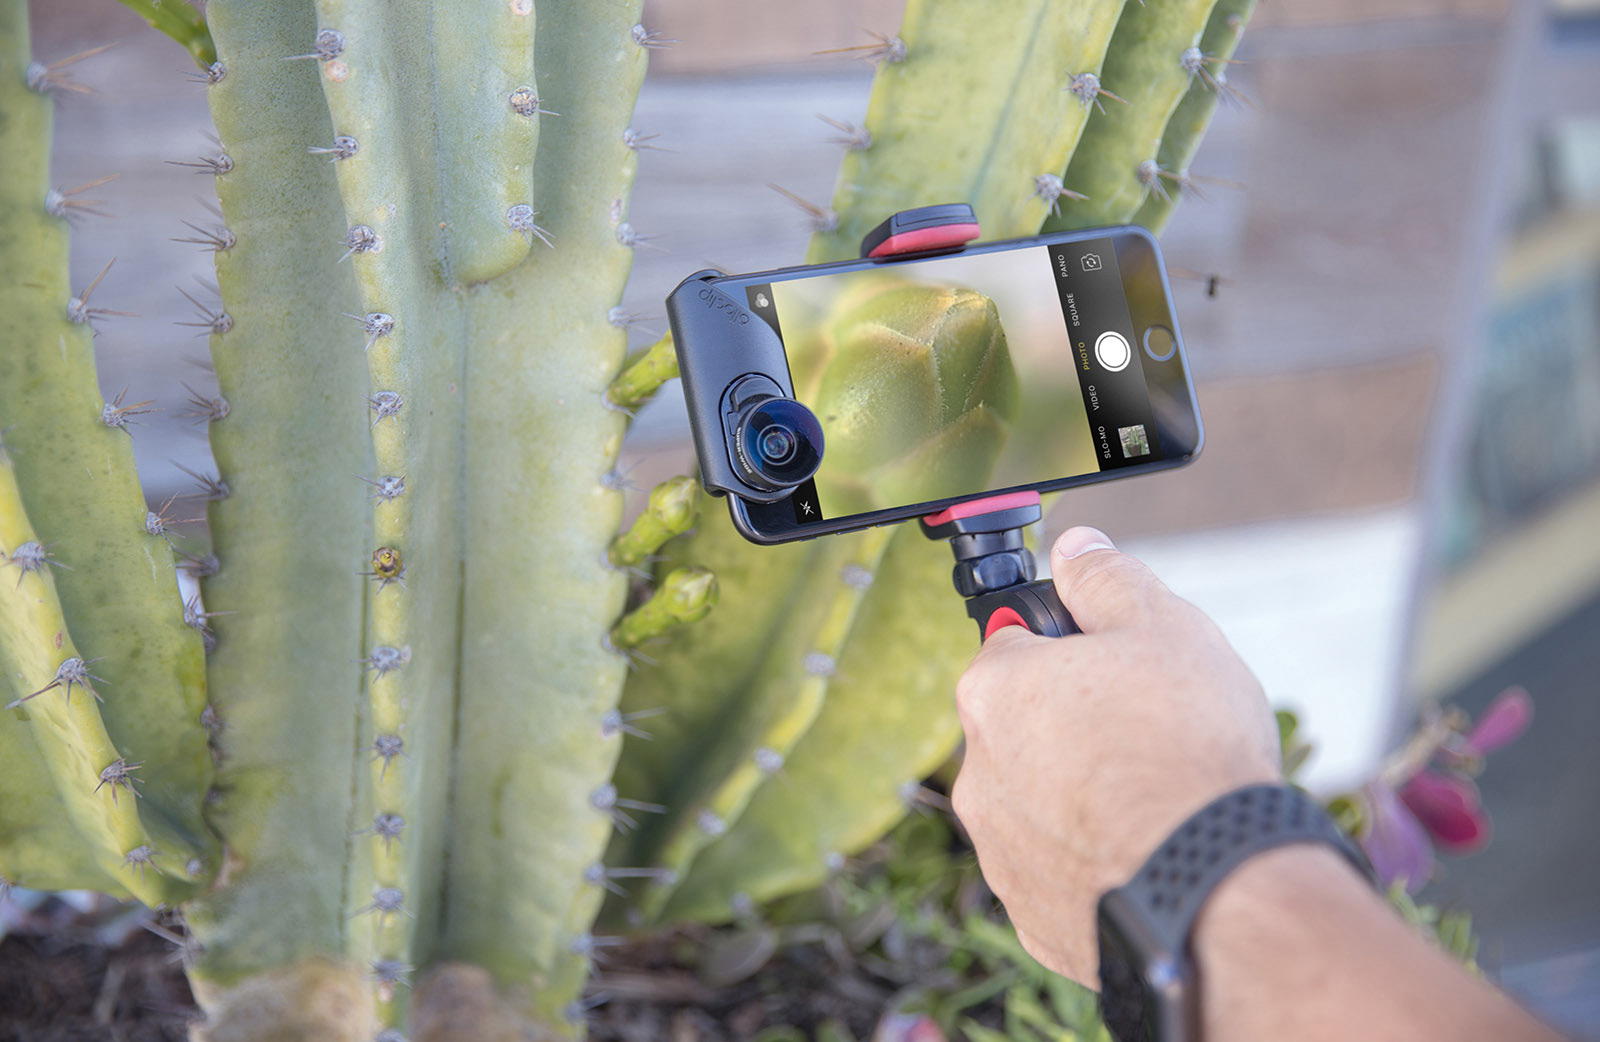
Smartphones and tablets are not equipped with great zooming capabilities whilst in shot, so avoid zooming during a shot. Digital zoom destroys quality by stretching pixels. Newer phones now have individual zoom lenses, these are really getting quite good, do feel free to start experimenting with these new lenses but use zoom sparingly anyways. And remember to never zoom in shot. If you wish to switch between lenses, you must end your first shot, switch your lens on your phone and then start a new shot – this wa you will maintain all the resolution of your image.
To zoom in shot – physically move the device closer to the subject.
Step in to the shot.

Tip #7 – Creativity
Feel free to get as creative as you can, for eg.You can put your phone on a skateboard for a steady pan shot.
There are many unique ways to shoot for free using your device, so don’t worry if you have a zero dollar budget, just get creative.
Tip #8– Framing and Composition
Where do you want the audience’s focus?
Use interesting ways to frame each shot, guiding the audience’s attention to where you want it to be. You can do this with camera focus, the use of scenery and shapes, props and lighting effects and sounds.
The big rule here is; don’t always go for the obvious shot. Play around with the composition and don’t always place your subject in the middle of the shot. Remember the rule of thirds.
Remember to use different shot sizes.
Wide Shot or WS to set the scene and provide context and a sense of place.
Long shot or LS to identify people and show multiple characters
Mid Shots or MS to bring the audience closer to the action
Close Up or CU to focus on emotion and/or detail and bring the audience real close
Extreme close up or ECU
Cutaways and Overlays to add extra details and flesh out the film and provide different view points and information.
Tip #9 – Editing
The point of editing is to delete the bad stuff, trim the good stuff, re-arrange the order of the clips and add sound and music.
Editing is a specialised skill but one that can be learnt. You just need to keep doing it.
There are so many free and paid editing apps and programs. The best one is the one you will use personally and that you are comfortable using.
Our favourite is Luma Touch. Hands down, it’s the best and we say GET IT if you want to start professionally editing your films. This little app will turn you into a true filmbreaker, you can both shoot and edit on a mobile device.
To get you started, iMovie, is the best free editing app for ios and the easiest for beginners to use.
Free Editors for Android – Adobe Premiere Rush, Movie Makr and Filmora.
We also recommend CapCut which is FREE and available on all devices.
And if you’re editing on your Mac or PC, there are a ton of professional editors. Industry standards are Final Cut Pro, Adobe Premiere, Da Vinci and iMovie.
Tip #10- Apps
There are soo many apps covering all aspects of filmmaking. Many of these are free or very reasonably priced. From screenwriting apps, to storyboard apps, to slates, viewfinders and everything in between.
A filming app that we 100% recommend and that a lot of pros are using is: the Blackmagic Cam App. It is free and we cannot recommend it enough!
For storyboarding – Story Board Quick
For keeping track of your shots and shoot – Shot Lister
For screenwriting – Writer Duet, which is pro and has a free version.
Tip #11 – What resolution do I shoot in?
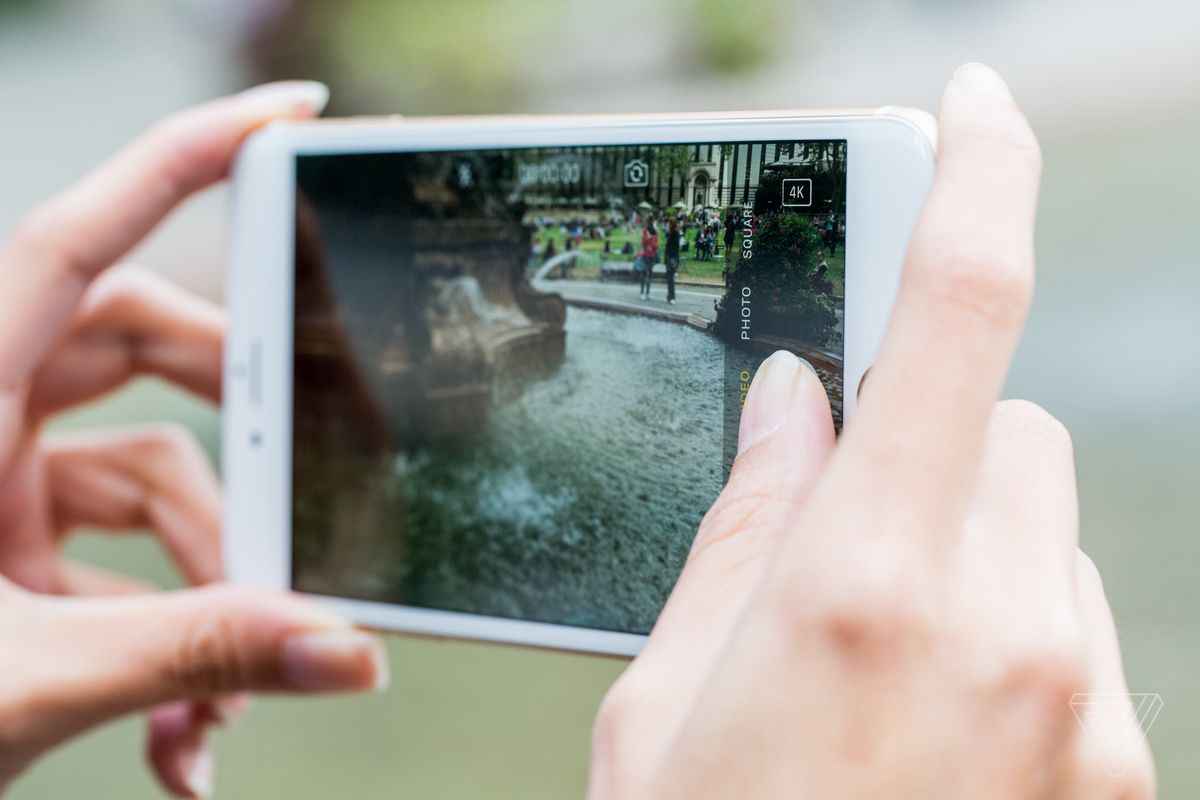
We always recommend firstly to keep it simple and it is 100% fine to just pick up your phone and start shooting. But if you do want to get a little more manual control on your film, then if you open the settings on your phone for your camera then you will see many things you can change. One of these is resolution. We recommend if you have the storage, to always shoot in the highest resolution possible. On the newer phones this will be 8 K or 4K. Next best is 2K and then 1080p. Never shoot lower than 1080p.
The reason to shoot in higher resolutions is that your film will blow up better on the big screen the higher the resolution. And another biggie is that if you shoot in 4k then you have so many more options in post-production with your footage. For eg. shooting in 4k means it is possible to zoom in very tight in post production and keep the image crisp and beautiful, allowing you to crop, zoom and edit the composition. This is a wonderful advantage to have in post.
And frames per second or FPS? Phones will default to 30FPS and this is completely fine for filmmaking. But if you can, choose to shoot in 24 FPS as this is what most film festivals will want.
60 FPS is known as action mode and you would use this for action sequences, fight scenes, kids and animals and to keep the shot steady while running/moving a lot.
Slow motion is 120 and 240 FPS.
But if all this sounds too technical, then don’t even worry about it, just shoot your film.
Links
Don’t forget to follow us on Facebook – https://www.facebook.com/sf3.au
Instagram – http://instagram.com/sf3fest
Youtube – https://www.youtube.com/channel/UCwqEvkGL6CIqpmyn29VHXBg
For music:
We cannot recommend this site enough – Melodie Music
Films we recommend for further tips
Here are some films we think are very useful to our SF3 filmmakers. Keep watching the site here as we will be adding more videos as we find them. Good luck!
Lenses for better shots
Sound Tips
Framing Tips
Lighting Tips
Iphone & Ipad Shooting for Absolute Beginners
Tips on Tools
5 Helpful Tips
10 More Tips
Recommended Iphone Apps
Animation on Smartphone
Support SF3
We are currently seeking fun and innovative brands to join us for the next festival and beyond.
Join our mailing list
Our Sponsors
Let's
chat
Get in touch through our form or email us at sf3@sf3.com.au and we'll get back to you as soon as possible.

